If you’ve ever dreamt of movie theater-quality popcorn right in your living room, you’re in for a treat. The Whirley Pop popcorn maker isn’t just another kitchen gadget; it’s a game-changer for anyone serious about their snack. Forget microwave bags and unevenly popped kernels; this classic stovetop marvel promises a consistently delightful experience, batch after delicious batch.
|
Our Picks for the Best Popcorn Maker in 2026
As an Amazon Associate I earn from qualifying purchases.
|
||
| Num | Product | Action |
|---|---|---|
| 1 | 10 oz Popcorn Machine Cart, Popcorn Maker Machine with Wheel&Stainless-Steel Kettle Makes Up to 40 Cups, Vintage Movie Theater Style Pop Corn Machine, Red |

|
| 2 | Original Whirley Pop Popcorn Maker - Wabash Valley Farms Gourmet Popcorn Popper, Aluminum Pot With Nylon Gears, 3-Minute Stove Top Popper, Home Movie Night (Silver) |
|
| 3 | Presto 04863 Poplite Hot Air Popcorn Popper - Built-In Measuring Cup + Melts Butter, Easy to Clean, Built-In Cord Wrap, 18 Cups, Red |
|
| 4 | Dash Fresh Pop Popcorn Maker - Oil-Free, Air Popcorn Popper - With Measuring Cup & Recipe Guide - Perfect for Movie Nights - 16 Cups, Red |
|
| 5 | Soccer-Shaped Hot Air Popcorn Popper, BPA-Free Food-Grade PP Air Popcorn Maker with Measuring Cup and Butter Melter, One-Touch 1200W Oil-Free Popcorn Machine for Home, Game Night, Camping (white) |
|
| 6 | Dash Fresh Pop Popcorn Maker - Oil-Free, Air Popcorn Popper - With Measuring Cup & Recipe Guide - Perfect for Movie Nights - 16 Cups, Aqua |
|
| 7 | 6 Oz Popcorn Machine Maker, Countertop Pop Corn Machine, Tabletop Popcorn Machine, Movie Theater Popcorn Popper Machine with Stainless-Steel Kettle, Measuring Tool for Home Family, 300 W, Red |
|
| 8 | Dash Fresh Pop Popcorn Maker - Oil-Free, Air Popcorn Popper - With Measuring Cup & Recipe Guide - Perfect for Movie Nights - 16 Cups, White |
|
| 9 | 8 oz Popcorn Machine Cart, Popcorn Maker Machine with Stainless-Steel Kettle Makes Up to 32 Cups, Movie Theater Style Pop Corn Machine with Heated Warming Deck, Upgraded, Black |
|
| 10 | Popsmith Popcorn Popper in Butter - 6 Quart Stovetop Popcorn Machine - Stainless Steel Popcorn Maker Compatible with All Stovetops |
|
What Makes the Whirley Pop a Game Changer?
At its heart, the Whirley Pop is a stovetop popcorn maker designed for maximum efficiency and flavor. Its distinctive hand-cranked stirring mechanism ensures that every kernel gets even heat exposure, leading to significantly fewer unpopped “old maids” at the bottom of the pot. Crafted from thin aluminum, it heats up rapidly and, crucially, cools down quickly once removed from the stove, preventing carryover cooking that can scorch your perfectly popped corn.
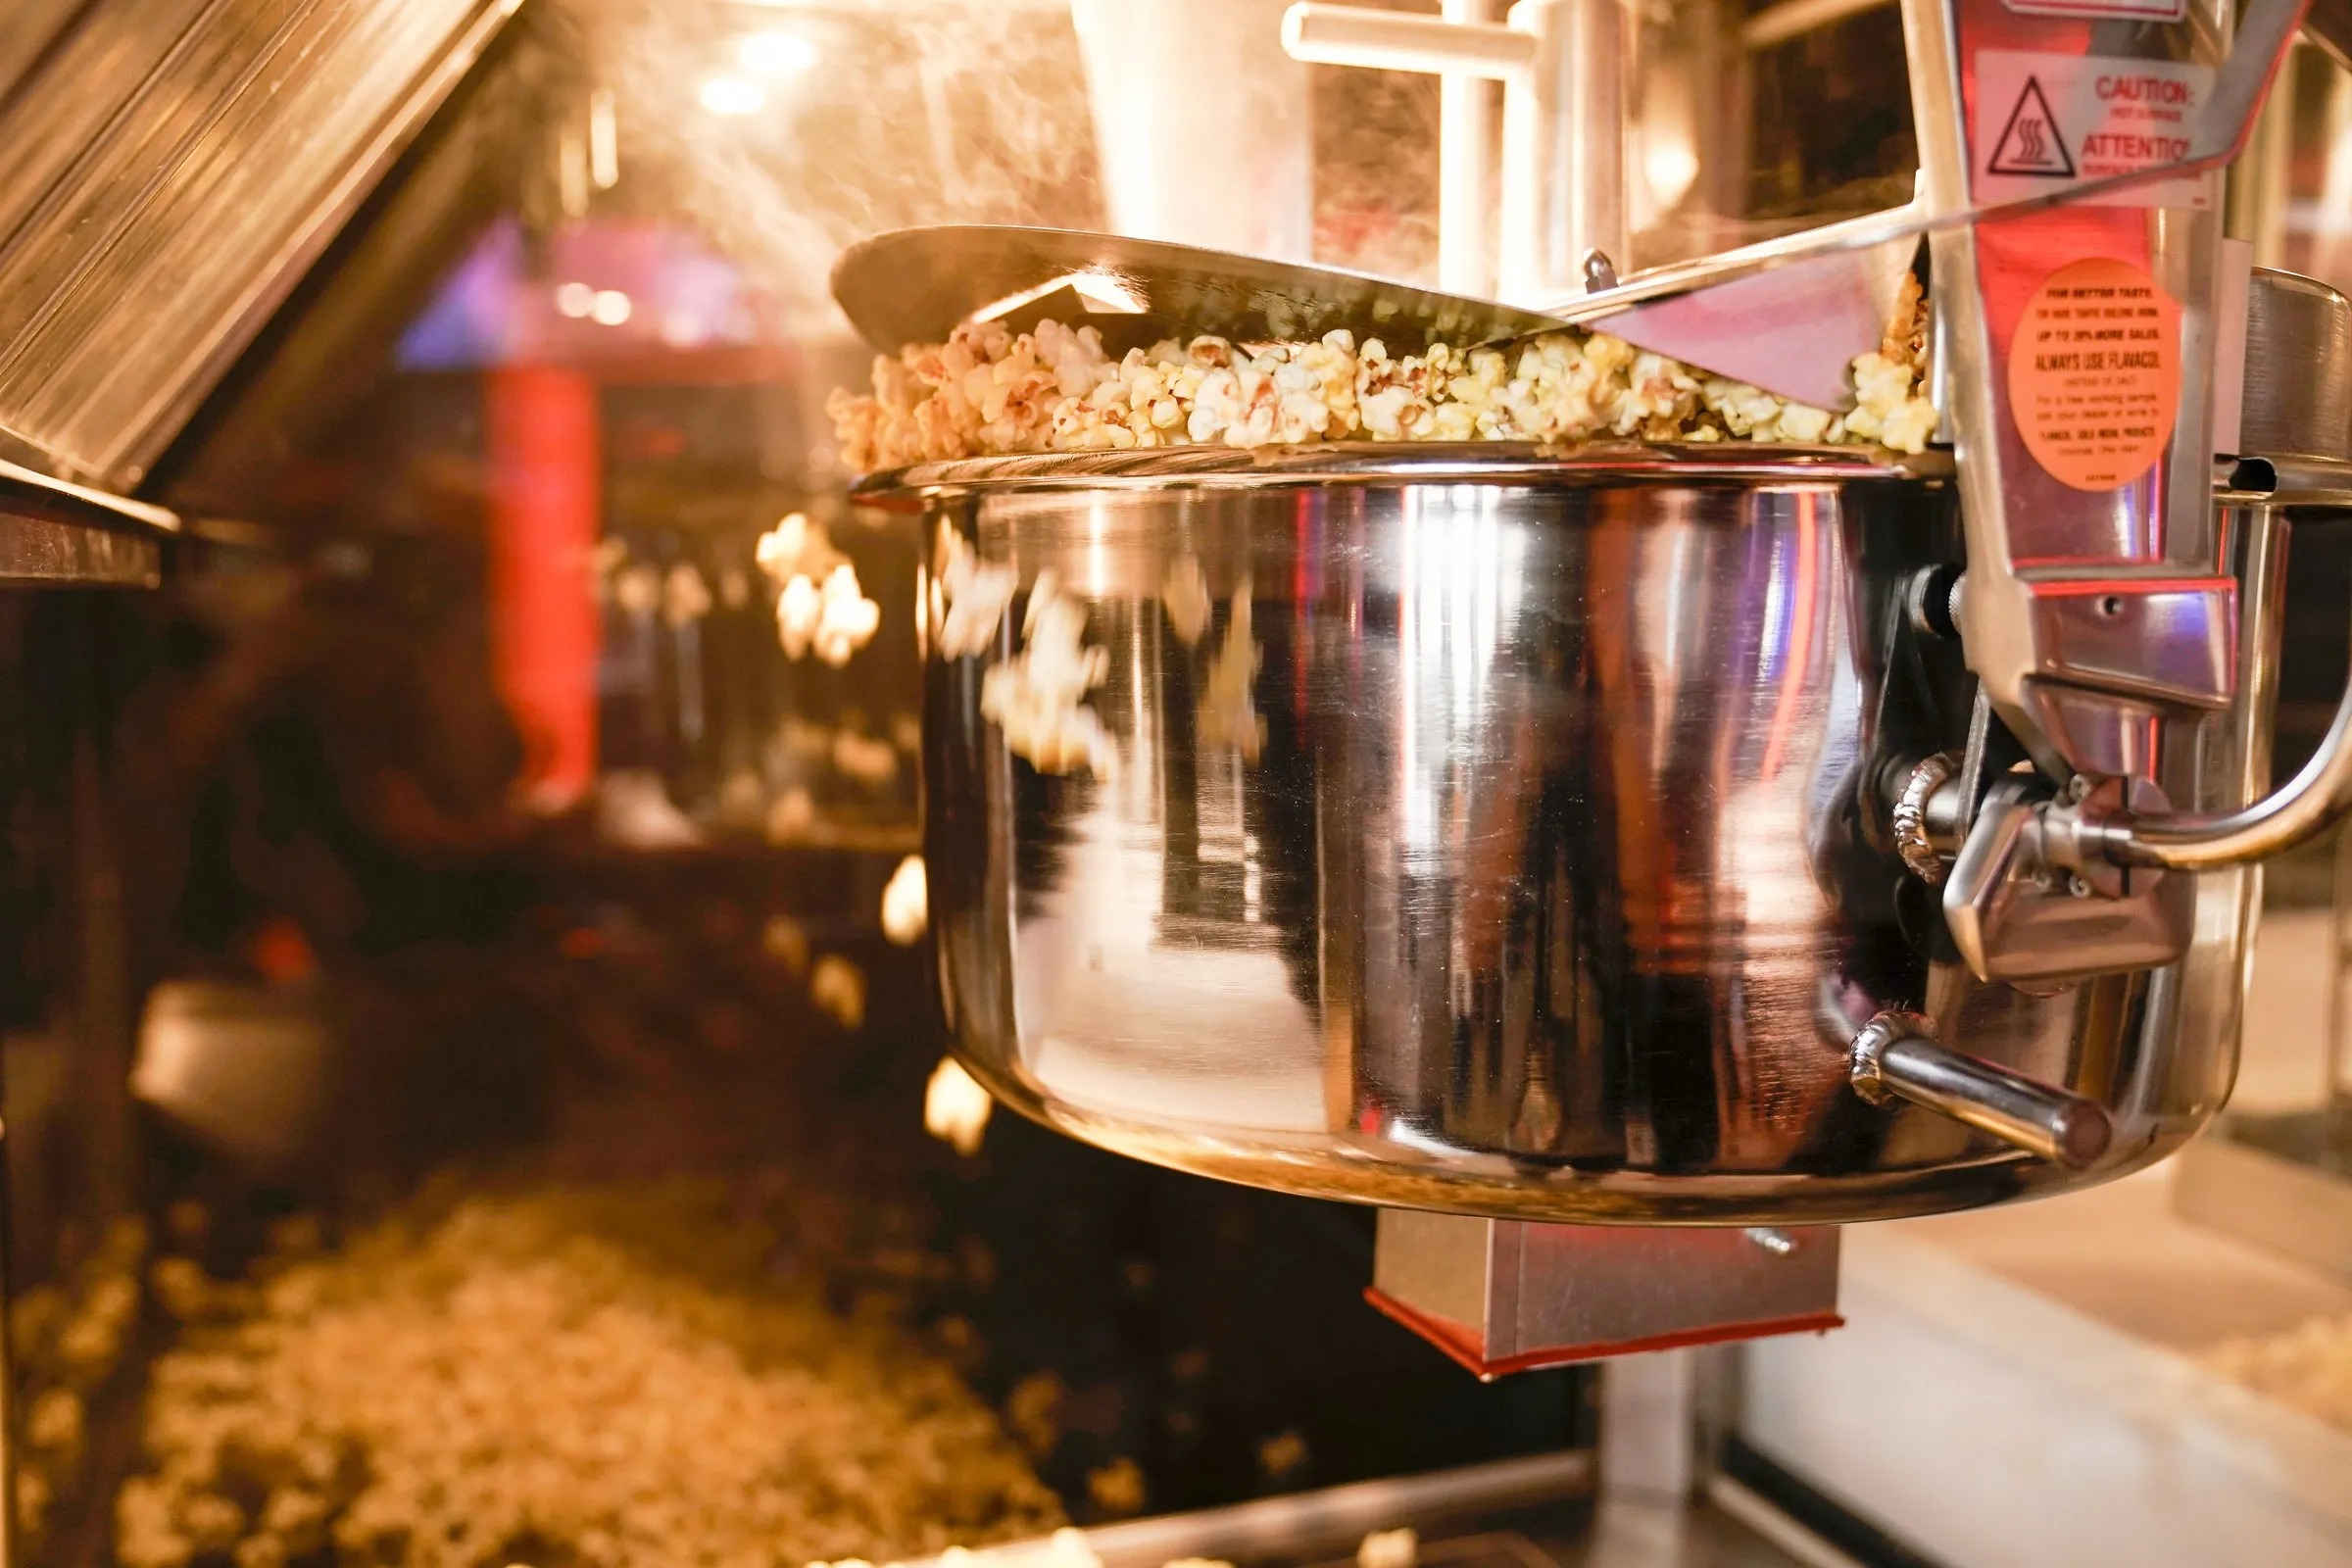
But the real magic of the Whirley Pop lies in its vented lid. Popcorn needs to release steam to stay crisp, and traditional pots often trap that moisture, leading to chewy, less appealing results. The Whirley Pop’s strategic vents allow steam to escape, ensuring your popcorn is wonderfully light and crunchy, just like you’d get at the cinema.
Whirley Pop vs. The Competition: A Head-to-Head
When considering the best way to make popcorn at home, you’ll encounter a few popular contenders. Let’s stack the Whirley Pop popcorn maker against them.
Hot Air Poppers: Quick but Compromised?
Hot air poppers are beloved for their speed and oil-free operation, making them a go-to for health-conscious snackers. They use hot air to pop kernels, often blowing the finished popcorn directly into a bowl. While convenient and easy to clean with just a wipe, many popcorn aficionados find that air-popped corn lacks the rich flavor and satisfying texture that oil provides. Without oil, seasonings often struggle to adhere, leading to a blander experience.
Traditional Pots: The Uneven Battle
Many of us started our popcorn journey with a simple lidded pot on the stove. While it gets the job done, consistency can be a challenge. You’re constantly shaking to prevent burning, and even then, some kernels inevitably scorch while others remain unpopped. The trapped steam also tends to make the popcorn softer and less enjoyable.
Why the Whirley Pop Stands Out
The Whirley Pop takes the best aspects of stovetop popping and refines them. It uses oil, which is essential for that classic popcorn flavor and helps seasonings stick, but its stirring mechanism prevents the uneven heating and burning common with standard pots. Plus, its design actively combats sogginess, a common complaint with other methods. “The beauty of the Whirley Pop lies in its elegant simplicity and superior engineering,” emphasizes Chef Oliver Green, a culinary equipment specialist. “The continuous stirring and strategic steam vents are key to achieving that consistently crisp, perfectly popped kernel that many other methods just can’t replicate.” [expert_quote]
Getting Started: First Steps with Your Whirley Pop
Before you dive into a mountain of delicious popcorn, a little preparation goes a long way.
Unboxing and Initial Seasoning
When you first unbox your Whirley Pop popcorn maker, it’s a good idea to hand wash it thoroughly [cite: 3 – search result 3 from third query]. After drying, seasoning the pan will help create a natural non-stick surface and enhance future popping. Simply add a tablespoon of vegetable oil to the pan, tilt it to coat the bottom and sides, and heat it over medium heat for about 20 seconds [cite: 4 – search result 4 from second query, 3 – search result 3 from third query]. Let it cool, then wipe out the excess oil with a paper towel. Now you’re ready to pop!
What You’ll Need
Gathering your ingredients beforehand ensures a smooth popping experience:
- High-Quality Popcorn Kernels: Yellow or white, gourmet hybrids often yield excellent results.
- Popping Oil: Coconut oil, sunflower oil, or even ghee are popular choices for flavor and heat stability [cite: 3 – search result 3 from second query, 2 – search result 2 from second query].
- Salt: Fine sea salt or a movie theater-style popcorn salt works best for even distribution.
- A Stovetop: Gas or electric, the Whirley Pop works beautifully on both.
Mastering the Pop: How to Use Your Whirley Pop Popcorn Maker
Making popcorn with a Whirley Pop is incredibly simple and satisfying. Here’s your step-by-step guide to achieving popcorn perfection:
Step-by-Step Popping Instructions
- Add Ingredients: Place your Whirley Pop on the stove. Add your preferred oil (1-3 tablespoons for 1/2 cup of kernels) to the pan [cite: 4 – search result 4 from second query]. Then, add 1/2 cup of popcorn kernels and, if desired, 1/2 teaspoon of salt [cite: 2 – search result 2 from second query].
- Apply Heat: Turn your stove burner to medium heat. If you’re using an electric range, preheat it to medium-high before placing the popper on top [cite: 4 – search result 4 from second query]. Do not preheat the popper empty [cite: 4 – search result 4 from second query].
- Start Cranking: Hold the wooden handle with one hand and slowly turn the crank with the other. The stirring mechanism will begin to move the kernels, ensuring they heat evenly and don’t stick or burn [cite: 2, 3 – search result 2 from second query].
- Listen for the Pop: You’ll soon hear the first pops. Continue to turn the crank at a steady pace. Popping should be complete in about three minutes [cite: 2, 4 – search result 2 from second query].
- Stop When Popping Slows: Keep cranking until the popping sounds slow down significantly, typically to about one pop every two seconds, or when the crank becomes difficult to turn [cite: 2, 4 – search result 2 from second query]. Do not force the crank [cite: 2, 4 – search result 2 from second query].
- Remove and Serve: Immediately remove the Whirley Pop from the heat to prevent burning [cite: 4 – search result 4 from second query]. Carefully open the lid and pour your freshly popped corn into a large serving bowl.
Tips for Optimal Popping
- Heat Management: While medium to medium-high heat is recommended, you might need to slightly adjust it based on your stovetop. The goal is consistent popping within about three minutes [cite: 4 – search result 4 from second query]. If you notice excessive burning at the bottom, your heat might be too high [cite: 4 – search result 4 from third query].
- Don’t Rush the Cool Down: Once popped, let your popcorn cool for a minute or two in the bowl. This allows any residual steam to dissipate, enhancing crispness and preventing chewiness [cite: 5 – search result 5 from second query].
- Season Early: For the best flavor distribution, add your seasonings while the popcorn is still in the Whirley Pop after popping. A few vigorous turns of the crank will distribute melted butter, salt, or other spices evenly across all the kernels [cite: 1 – search result 1 from second query].
Keeping It Pristine: Cleaning and Care for Your Whirley Pop
One of the great things about a Whirley Pop popcorn maker is its straightforward cleaning process, but there are a few golden rules to follow to ensure its longevity.
Regular Cleaning
For everyday use, especially if you’re making plain popcorn, a simple wipe down with a paper towel after the pan has cooled is often all you need [cite: 1, 3 – search result 3 from third query]. Many users find that a “seasoned” pan (one that isn’t scrubbed clean after every use) actually yields better-tasting popcorn [cite: 5 – search result 5 from third query]. However, if you’ve made a stickier recipe like kettle corn or if you store your popper for extended periods, a more thorough clean is recommended. Hand wash it in warm, soapy water with a grease-cutting dish detergent, paying attention to the lid and stirring mechanism [cite: 2, 3 – search result 3 from third query]. Always dry it thoroughly to prevent rust.
Tackling Stubborn Burnt Marks
Occasionally, despite your best efforts, you might encounter stubborn burnt marks on the bottom of the pan. Don’t worry, these won’t typically affect the taste of future batches, but they can be cleaned.
- Baking Soda Paste: Make a paste with baking soda and water, apply it to the burnt areas, and let it sit for 10-15 minutes. Then, gently wipe it away with a soft scouring pad [cite: 1, 2 – search result 2 from third query].
- Lemon Juice Boil: For tougher stains, fill the pan one-third of the way with water and a cup of lemon juice. Boil for about 20 minutes, then let it cool before scrubbing [cite: 1 – search result 1 from third query].
What NOT to Do
To protect your Whirley Pop, remember these important cleaning caveats:
- No Dishwasher: The Whirley Pop is strictly a hand-wash-only item. The dishwasher can damage its finish and components [cite: 1, 2, 3 – search result 3 from third query].
- Avoid Harsh Cleaners: Steer clear of abrasive cleaners, bleach, oven cleaner, or steel wool pads. These can scratch the surface and strip protective coatings, accelerating wear and tear [cite: 2 – search result 2 from third query].
Unleash Your Inner Popcorn Chef: Creative Recipes
The versatility of the Whirley Pop popcorn maker extends far beyond simple butter and salt. It’s a fantastic canvas for culinary creativity!
Classic Buttery & Salty
For a timeless treat, after popping, drizzle your warm popcorn with melted clarified butter (it prevents sogginess!) and sprinkle with fine sea salt. A few cranks of the handle will distribute it perfectly [cite: 1 – search result 1 from second query]. For that authentic movie theater experience, try using coconut oil for popping and finish with a dash of Flavacol [cite: 1 – search result 1 from second query].
Sweet & Savory Variations
- Kettle Corn: Add sugar directly to the kernels and oil before popping. The Whirley Pop’s stirring action helps caramelize the sugar evenly for that delightful sweet and salty crunch [cite: 1 – search result 1 from fourth query, 4 – search result 4 from fourth query]. Just be sure to pour it out immediately after popping to prevent sticking.
- Cheesy Popcorn: After popping, toss your warm popcorn with melted butter and sprinkle generously with nutritional yeast or powdered cheese for a savory kick [cite: 5 – search result 5 from fourth query].
- Spicy Kick: Melt butter with your favorite hot sauce and drizzle it over the popcorn, then toss. A sprinkle of lemon seasoning can add an extra zing [cite: 5 – search result 5 from fourth query].
- Sweet Delight: Experiment with cinnamon sugar, cocoa powder, or even melted chocolate drizzles for a dessert-like treat.
Why Homemade Popcorn with a Whirley Pop? The Benefits Unpacked
Choosing a Whirley Pop popcorn maker for your home isn’t just about making popcorn; it’s about elevating an experience.
- Unmatched Freshness: There’s nothing quite like the aroma and taste of freshly popped corn, hot off the stove.
- Customization Galore: You’re in complete control of the ingredients, from the type of oil and kernels to the amount and variety of seasonings. This means endless possibilities for flavor experimentation.
- Cost-Effective Snacking: Buying kernels in bulk and making your own popcorn is significantly cheaper than pre-packaged microwave bags or store-bought gourmet options.
- Healthier Choices: You can avoid artificial flavors, preservatives, and excessive sodium often found in commercial popcorn.
- Pure Fun and Nostalgia: The rhythmic crank, the anticipation of the pops, and the shared experience of a warm bowl of popcorn create lasting memories. It’s a delightful activity for families and friends.
Conclusion
The Whirley Pop popcorn maker stands as a testament to simple, effective design, proving that sometimes the old ways are truly the best. By combining even heat, continuous stirring, and smart steam ventilation, it consistently delivers batches of crisp, fluffy, and flavorful popcorn with minimal unpopped kernels. Investing in a Whirley Pop means embracing a superior snack experience, unlocking endless culinary creativity, and enjoying the undeniable joy of perfect homemade popcorn. So go ahead, crank up the fun, and rediscover the magic of popcorn with your very own Whirley Pop!
Frequently Asked Questions
Q: What kind of oil should I use in my Whirley Pop popcorn maker?
A: For the best flavor and performance, many users recommend coconut oil or ghee due to their high smoke points and delicious taste. Vegetable oil or sunflower oil also work well.
Q: How much popcorn can a Whirley Pop make at once?
A: A typical batch in a Whirley Pop uses 1/2 cup of popcorn kernels, yielding approximately 6 quarts of popped popcorn, which is a substantial amount for family movie nights or gatherings. [cite: 5 – search result 5 from second query]
Q: Can I use butter instead of oil in the Whirley Pop?
A: While you can use butter, clarified butter (ghee) is recommended for popping as regular butter contains milk solids that can burn at high temperatures. For seasoning, melted clarified butter is ideal to prevent soggy popcorn. [cite: 3 – search result 3 from second query, 1 – search result 1 from second query]
Q: Why is my popcorn chewy instead of crisp?
A: Chewy popcorn is usually a result of trapped steam. The Whirley Pop is designed with vents to minimize this, but ensure you remove it from the heat immediately after popping and allow it to cool for a minute or two in an open bowl to release any remaining steam. [cite: 1 – search result 1 from second query, 5 – search result 5 from second query]
Q: My Whirley Pop has burnt marks at the bottom. How can I clean them?
A: For burnt marks, try making a paste of baking soda and water, applying it, and letting it sit for 10-15 minutes before scrubbing with a soft pad. Alternatively, you can boil water with lemon juice in the pan for about 20 minutes to help loosen the residue. [cite: 1, 2 – search result 1, 2 from third query]
Q: Is the Whirley Pop compatible with induction stovetops?
A: Standard aluminum Whirley Pops are generally not compatible with induction stovetops, as induction requires a magnetic base. However, some stainless steel versions or specific models might be. Always check the product specifications if you have an induction cooktop.
Q: How long does a Whirley Pop last?
A: Whirley Pops are known for their durability. Wabash Valley Farms, the maker, traditionally offers a 25-year warranty on the lid’s mechanical parts, indicating a long lifespan with proper care.