There’s something uniquely enchanting about the aroma of freshly popped corn wafting through your home. While electric air poppers offer convenience and microwave bags promise speed, the classic Stove Top Popcorn Maker delivers an unparalleled experience—a perfect blend of nostalgia, hands-on satisfaction, and undeniably superior taste. If you’re ready to transform your movie nights, elevate your snack game, or simply enjoy a delicious, wholesome treat, mastering the stovetop method is your next culinary adventure.
The Enduring Appeal of the Stovetop Popcorn Maker
In a world increasingly dominated by automation, the stove top popcorn maker stands as a delightful testament to time-honored cooking methods. It offers a level of control and flavor that many find lacking in other options. Unlike air poppers that can sometimes yield dry, unevenly popped kernels, or microwave bags often laden with artificial ingredients, a good stovetop popper allows you to control the type of oil, the amount of salt, and a myriad of seasonings. This hands-on approach isn’t just about making popcorn; it’s about crafting an experience, a ritual that brings people together.
“The stovetop method isn’t just about the popcorn itself, it’s about the sensory journey—the sizzle of the oil, the first joyful pop, and the rich, authentic aroma that fills your kitchen,” says Dr. Elara Vance, Culinary Innovation Strategist at PopcornHub. “It’s a simple pleasure that connects us to the roots of this beloved snack.”
Choosing Your Perfect Stovetop Popcorn Maker
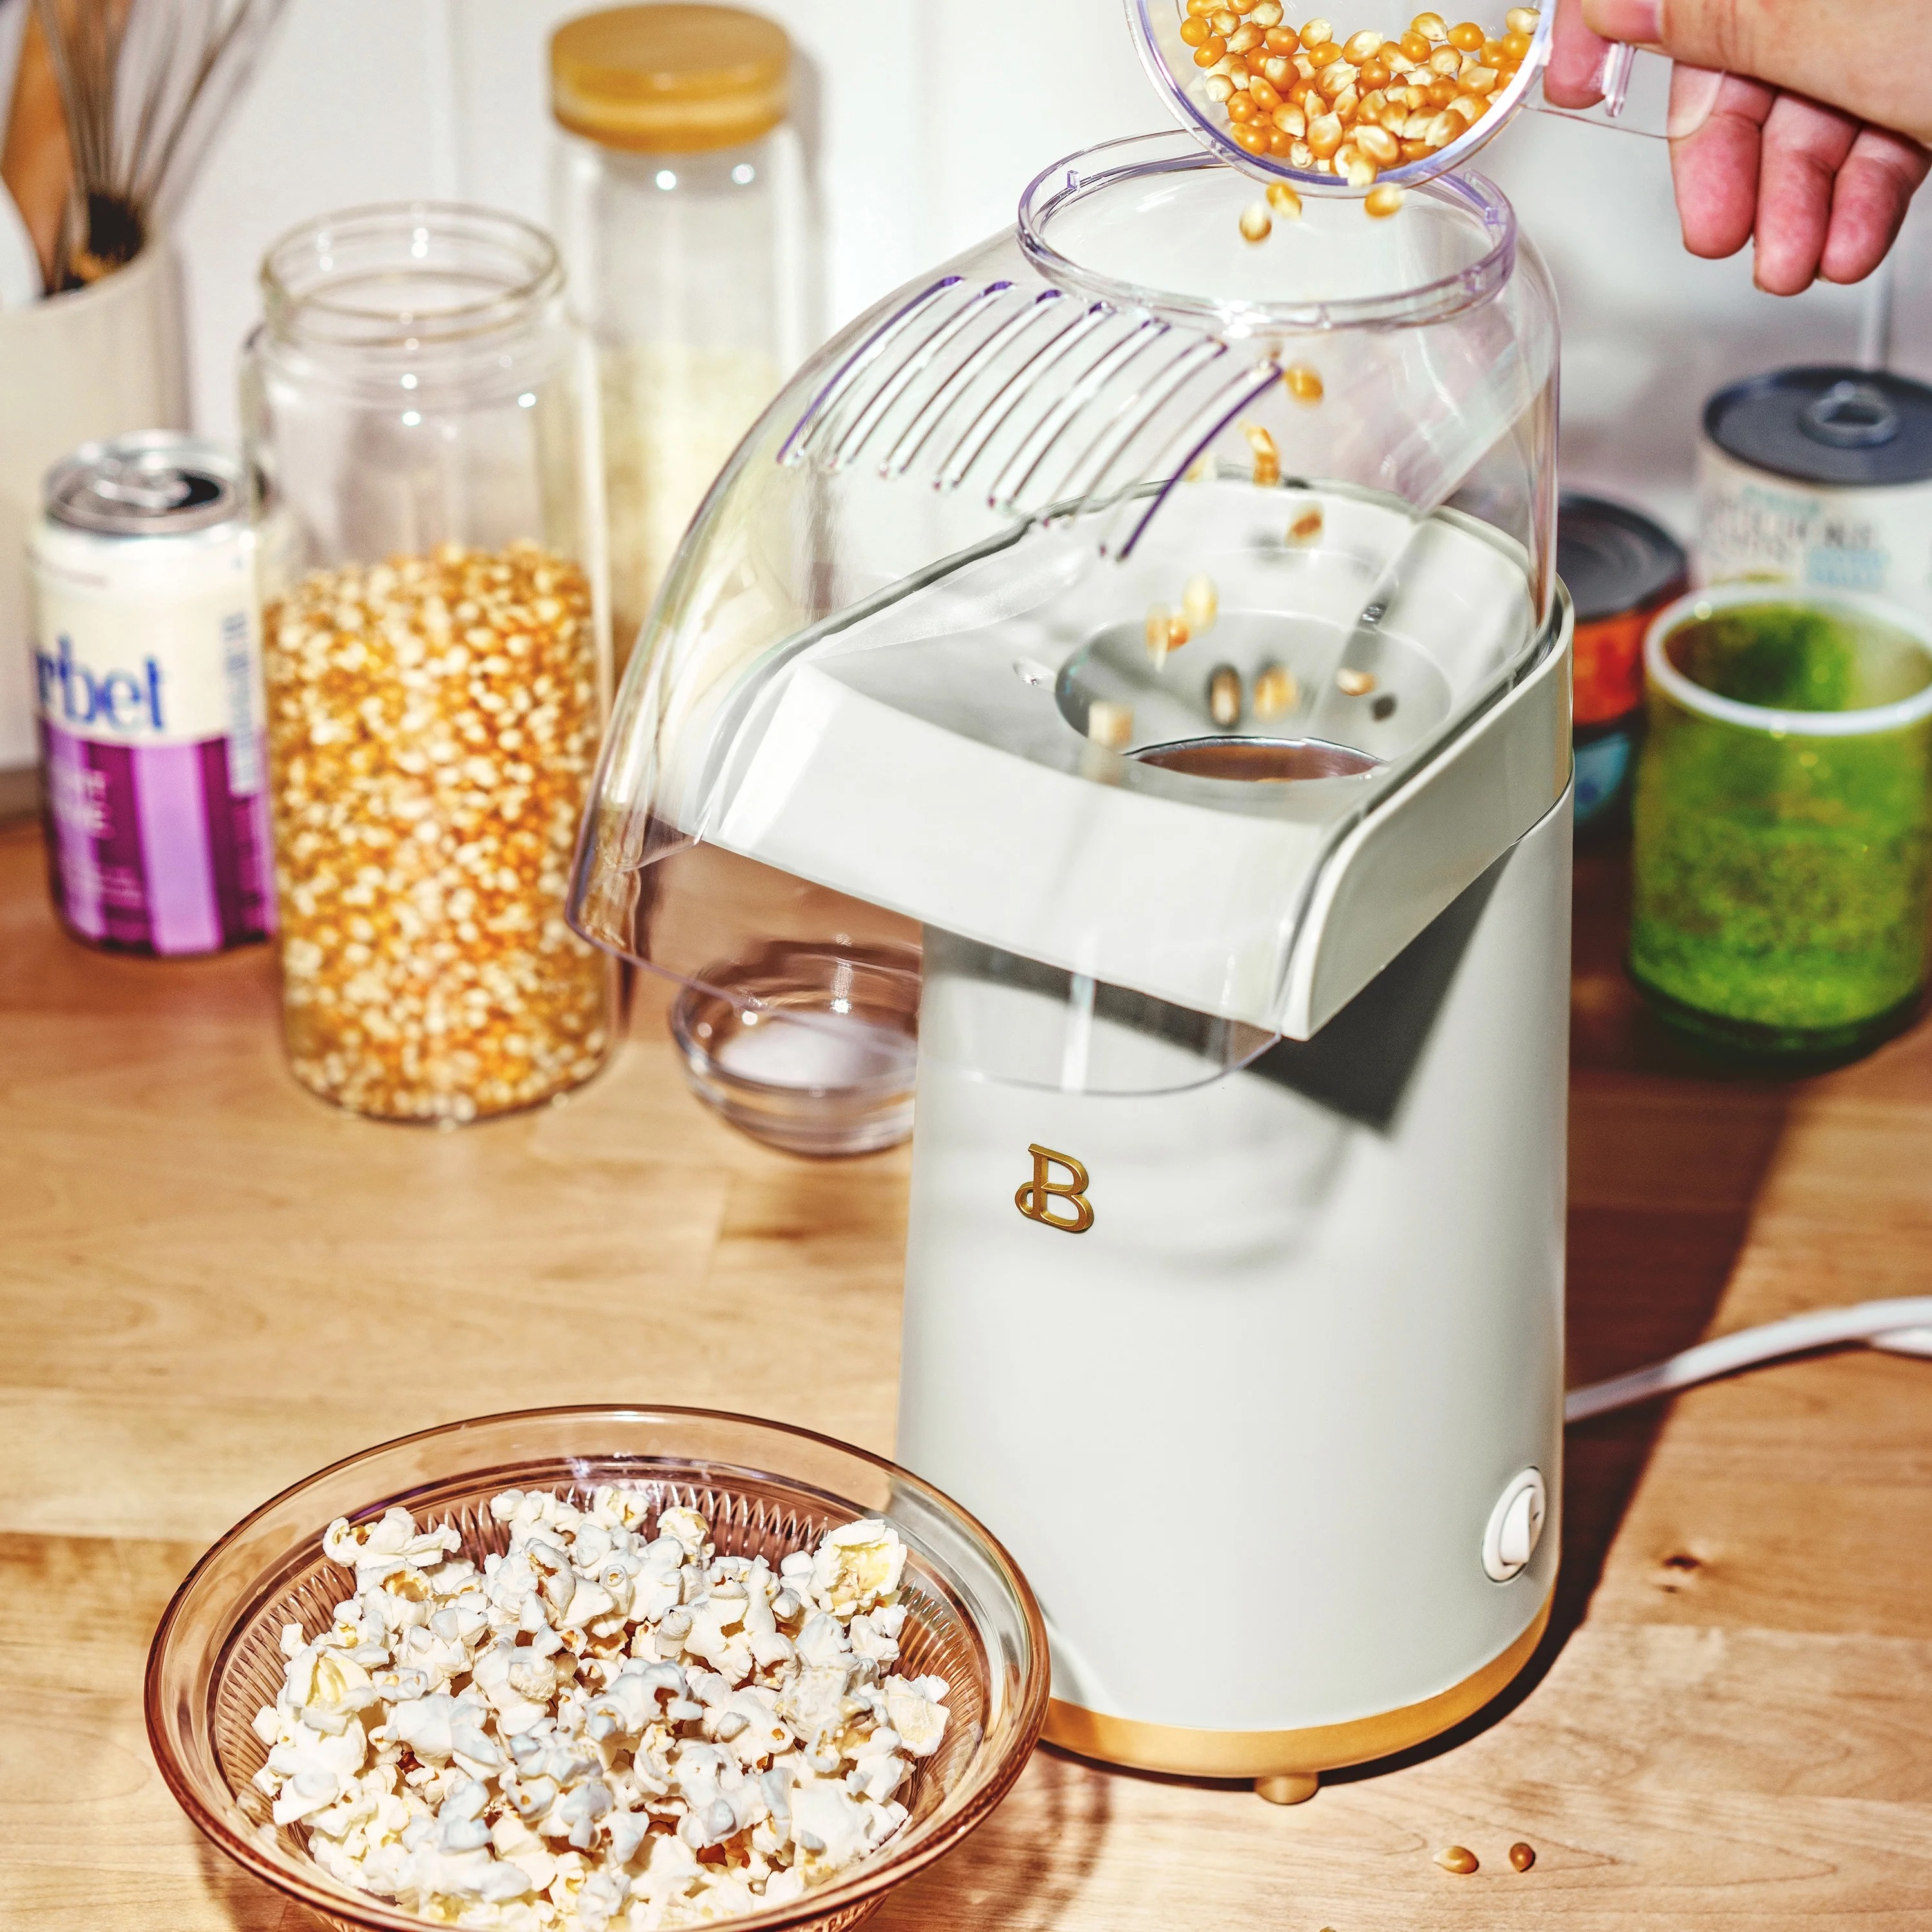
While a heavy-bottomed pot and a lid can certainly get the job done, specialized stove top popcorn maker designs can significantly enhance your popping success.
Types of Stovetop Popcorn Makers
- Traditional Hand-Crank Poppers: These are often aluminum or stainless steel kettles equipped with a hand-cranked stirring mechanism. The agitator arm prevents kernels from sticking and burning, leading to fewer unpopped kernels and more consistent results. Brands like the Whirley Pop are iconic in this category. They are fantastic for that classic movie-theater style popcorn.
- Heavy-Bottomed Pots or Dutch Ovens: For a more minimalist approach, a sturdy 8-quart pot with a tight-fitting lid works wonderfully. The key here is an even heat distribution to prevent scorching. Stainless steel or cast iron options are excellent choices, offering durability and reliable heat retention.
Key Features to Look For
When selecting your stove top popcorn maker, consider:
- Material: Aluminum heats quickly, while stainless steel offers greater durability and often a non-reactive surface.
- Capacity: Most stovetop poppers handle 6 quarts, perfect for family-sized batches.
- Handle Design: Ergonomic, heat-resistant handles are crucial for safe handling and shaking.
- Lid Features: A vented lid helps steam escape, preventing soggy popcorn, and some feature small doors for adding butter or seasonings without removing the entire lid.
- Gears (for hand-crank models): Metal gears are generally more durable and longer-lasting than plastic.
Mastering the Art of Stovetop Popcorn: A Step-by-Step Guide
Making perfect popcorn on the stovetop is less about magic and more about technique. Here’s how to do it:
Gather Your Essentials
- High-Quality Popcorn Kernels: This is non-negotiable! Fresh kernels lead to fluffier, larger popcorn.
- Oil with a High Smoke Point: Coconut oil is a classic for that movie-theater taste. Canola, corn, grapeseed, or avocado oils are also excellent choices. Avoid butter or olive oil, as they tend to burn at high temperatures.
- Salt: Fine-grained popcorn salt adheres best, but regular table salt works too.
- Your Stovetop Popcorn Maker: Whether it’s a dedicated popper or your trusty heavy-bottomed pot.
- A Large Serving Bowl: Ready for immediate transfer.
The Popping Process
- Heat the Oil and Test Kernels: Add 2-3 tablespoons of oil (for ½ cup of kernels) to your stove top popcorn maker. Place 2-3 test kernels in the pot and cover with the lid. Heat over medium-high heat. Wait for these kernels to pop. This indicates your oil is at the perfect temperature.
- Add the Rest of the Kernels: Once the test kernels pop, remove them (and the pot from the heat briefly). Add ½ cup of popcorn kernels, ensuring they form a single layer on the bottom of the pot. Immediately replace the lid.
- The Crucial Shaking Technique: Return the pot to medium heat. If using a hand-crank popper, turn the crank continuously. If using a regular pot, gently shake the pot back and forth over the burner. This continuous movement ensures even heating and prevents kernels from burning, leading to more popped corn.
- Listen for Perfection: The popping will intensify rapidly. As the frantic popping slows to about 2-3 seconds between pops, remove the pot from the heat. The residual heat will continue to pop a few more kernels. Any longer, and you risk burning.
- Safety First: Be extremely careful when handling the hot pot and lid. Hot steam will escape when you remove the lid. Never put your face directly over the pot.
Beyond the Basic Batch: Creative Popcorn Recipes and Flavor Twists
While classic butter and salt are always a hit, your stove top popcorn maker opens up a world of flavor possibilities.
- Classic Butter & Salt: Melt 2-4 tablespoons of unsalted butter and drizzle over hot popcorn. Sprinkle with fine-grained popcorn salt, tossing to coat evenly.
- Sweet Sensations:
- Cinnamon Sugar: Mix 1/4 cup sugar with 1 teaspoon cinnamon. Sprinkle over hot, buttered popcorn.
- Maple Pecan: Drizzle with maple syrup and sprinkle with chopped, toasted pecans.
- Savory Surprises:
- Parmesan Garlic Herb: Toss with melted butter, grated Parmesan cheese, garlic powder, and dried Italian herbs.
- Spicy Chili Lime: A dash of chili powder and a squeeze of fresh lime juice add a zesty kick.
- Nutritional Yeast “Cheesy”: For a dairy-free cheesy flavor, sprinkle generously with nutritional yeast.
Expert Tip: To ensure seasonings stick, always apply them immediately after the popcorn finishes popping, while it’s still hot and a little steamy. A light drizzle of melted butter or a spritz of cooking spray can also help dry seasonings adhere perfectly.
Caring for Your Stovetop Popcorn Maker
Proper care ensures your stove top popcorn maker remains a beloved kitchen tool for years.
- Cleaning: For most models, especially those with non-stick interiors, simply wipe out any residual oil or unpopped kernels with a paper towel once the pot has cooled. For a deeper clean, wash with mild, soapy water and rinse thoroughly. Avoid harsh abrasives that could damage the surface.
- Maintenance: Regularly check that all parts, especially handles and stirring mechanisms, are secure. Store in a dry place to prevent rust, particularly for aluminum or cast iron models.
The Benefits of Homemade Stovetop Popcorn
Choosing to make popcorn with a stove top popcorn maker offers a multitude of advantages:
- Healthier Alternative: You control all the ingredients, opting for less oil, healthy oils, and natural seasonings, avoiding artificial flavors and preservatives found in many commercial options.
- Cost-Effective: Buying kernels in bulk is far more economical than purchasing pre-packaged microwave popcorn or expensive pre-popped varieties.
- Fun Family Activity: The process itself is engaging and can become a cherished tradition. Kids love watching the kernels pop and hearing the symphony of a successful batch.
- Superior Taste and Texture: The stovetop method consistently yields crisp, fluffy, and flavorful popcorn with that satisfying chew.
Frequently Asked Questions About Stovetop Popcorn Makers
What’s the best oil to use for stovetop popcorn?
For stovetop popcorn, oils with a high smoke point are best, such as coconut oil (for classic movie-theater taste), canola oil, corn oil, grapeseed oil, or avocado oil. These oils can withstand the high heat needed for popping without burning.
How do I prevent burnt popcorn in my stove top popcorn maker?
The key to preventing burnt popcorn is consistent heat management and constant movement. Use medium-high heat, and either continuously crank the stirring arm (if your popper has one) or gently shake the pot back and forth. Remove the popcorn from the heat as soon as the popping slows significantly.
How do I get all the kernels to pop?
To achieve maximum pop, use fresh kernels and employ the “test kernel” method to ensure your oil is at the optimal temperature before adding the main batch. Also, continuous stirring or shaking helps distribute heat evenly, giving all kernels a better chance to pop.
Can I use a regular pot for stovetop popcorn?
Absolutely! A large, heavy-bottomed pot or Dutch oven with a tight-fitting lid works perfectly as a stove top popcorn maker. The heavy bottom helps distribute heat evenly, which is crucial for good results.
What’s the ideal heat setting for a stove top popcorn maker?
Start with medium-high heat to bring the oil and test kernels to temperature. Once you add all the kernels, reduce the heat slightly to medium. The goal is consistent, robust popping without scorching the kernels or oil.
Popcorn Perfection Awaits
The stove top popcorn maker is more than just a kitchen gadget; it’s a gateway to delicious, homemade delights and cherished memories. Whether you’re a seasoned popcorn enthusiast or new to the world of popping, embracing this classic method promises superior taste, endless flavor possibilities, and a truly engaging culinary experience. So go ahead, dust off your stovetop popper, experiment with flavors, and let the magic of freshly popped corn fill your home. You’re not just making popcorn; you’re crafting joy, one perfect kernel at a time.